
I finally have a new tutorial to present you.
I'm in love with these rose headbands that are so popular right now.

In local stores I couldn't find a headband matching my taste so I decided to make my own. It's pretty easy I have to say ;)

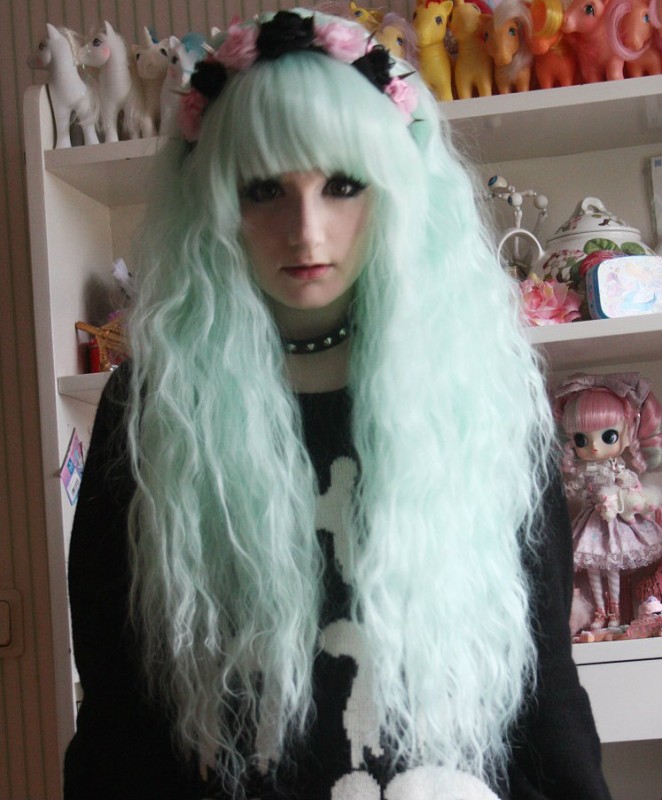
This is how they looked finished. I made one that is more toned down for everyday life and a huge one for OTT outfits.
What I used:

In the store they only had complete flowers. I absolutely wanted to make the headbands today so I bought them and just removed the heads from the stalk.
For the toned down one I used:
Small white roses
Mini red flowers
For the OTT headband I used:
epic pink roses
medium sized white roses
I bought the headband at a drugstore.
Step #1
Remove the heads of the roses

Step #2
Remove these small stick parts from the downside of the flowers. I cut them of with a scissor.

Step #3
Decide how the flowers should be arranged .

Step #4
Using a hot glue-gun simply glue the flowers one after each other onto the headband.
Be careful when working with the glue- gun!


And that is all ~
You should have a finished headband now!

Modeled by my alpaca Candy ♡
For the OTT band you do pretty the same. Just keep in mind that the big roses are heavy and will need more glue.

Modeled by Cotton because I don´t feel like taking photos of myself today^^
That's it. I hope the tutorial is useful for you. If somebody of you decides to make one I would love to see it!
Love,
Yaya ♡
Ich hab mir auch schon zwei solche Haarreifen gemacht und ich trag sie so gerne! Ich find den dezenteren ein bisschen hübscher (liegt wahrscheinlich daran dass ich einfach nicht mehr so der OTT Fan bin xD)aber beide sind absolut gelungen <3
AntwortenLöschenHey, ich wusste gar nich das du meinen blog liest. Freut mich irgendwie :)
LöschenUnd danke für das liebe Kompliment! Freut mich, dass sie dir gefallen